


Cummins 4954434 Fuel Injector Diagnosis and Rebuild Guide
Nov 12, 2026
The Cummins 4954434 fuel injector is cataloged for selected ISX engines with High Pressure Injection (HPI). The workshop video follows a unit injector through teardown and reassembly and reports pressure loss at the nozzle plunger and cup. When a truck presents with hard starting, rough idle, or uneven power, confirm the injector application first. Then use engine diagnostics and bench testing to determine whether the injector can be rebuilt and returned to service.
Confirm Fitment by Engine Serial Number
Interstate-McBee lists R-MCB4954434 as an HPI remanufactured injector. Its CPL matrix includes ISX 870 CPL 1437 as one application. Cummins identifies the EPA 2007 ISX15 by its two camshafts, HPI system, and CM871 controls. In the HPI design, a cam-driven plunger generates injection pressure within the unit injector. The engine control module manages fuel metering and timing through separate actuators in the fuel delivery module.
If you are sourcing a Cummins X15 fuel injector, identify the fuel system before comparing part numbers. Cummins specifies XPI high-pressure common rail for the 2024 X15 Performance Series and its X15 Euro 5 on-highway engine. Match an XPI-equipped engine to the injector specified for that configuration.
Use the engine serial number (ESN) to look up the parts catalog in Cummins QuickServe Online. Record the CPL and the markings on the removed injector, then verify the current service part number and any supersession against the ESN-specific listing. This is especially useful when a truck has had an engine swap or a previous injector replacement.
4954434 Fuel Injector Service Checklist
Use this checklist before ordering a replacement or returning a rebuilt injector to service.
Confirm Engine Fitment
Look up the engine serial number (ESN) in Cummins QuickServe Online. Cross-check the CPL and the markings on the removed injector to confirm the correct service part number.
Diagnose the Fault
Check fuel supply pressure, filter restriction, and air ingress. Use the Cummins INSITE Cylinder Cutout or Cylinder Performance Test where supported.
Inspect the Plunger and Cup
Confirm suspected leakage at the nozzle plunger and cup. Check the mating surfaces for scoring, pitting, or wear and compare their condition with the rebuild limits.
Verify Bench Results
Measure leakage and fuel delivery on an HPI-compatible test bench. Compare the results with the acceptance limits and keep a test record for each injector.
Workshop Teardown and Parts Identification
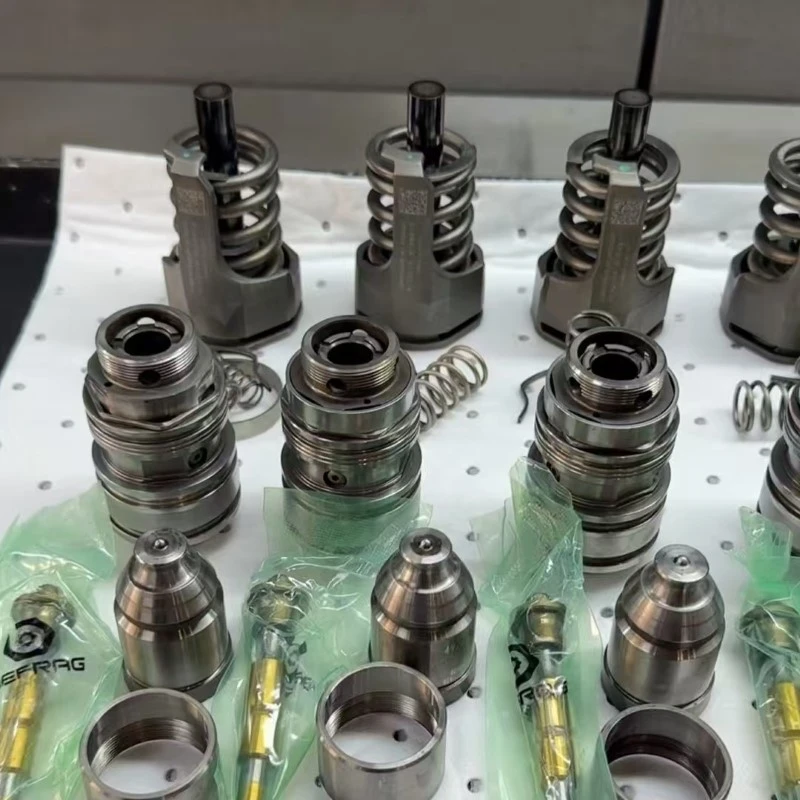
The teardown exposes multiple small components from each injector. Set up a clean tray for each unit, label it with the cylinder position, and keep precision-matched components together. Protect open fuel passages from debris. Photograph scoring, deposits, or damaged seals before cleaning so the bench technician can compare the as-found condition with the test results. The cylinder label also ties the findings back to the original engine diagnosis.
Diagnose the Fault Before Rebuilding
Start with the fuel supply. Record whether the symptom occurs at cold start, hot idle, or under load, and retrieve active and inactive ECM fault codes. Check fuel quality, filter restriction, air ingress, and supply pressure under the conditions specified for the engine. If several cylinders show similar symptoms, check for a shared supply fault. A restricted filter calls for filter replacement and an inspection for water or sediment. If the supply side draws air, check the filter seals and supply connections using the service procedure. Repeat the symptom check after correcting the fault. Follow the Cummins shutdown and pressure relief procedure before opening the fuel system.
Isolate the weak cylinder. Where supported, use the Cummins INSITE Cylinder Cutout or Cylinder Performance Test. Use the result to guide further checks for mechanical causes such as incorrect overhead adjustment or low compression. On an HPI engine, follow the troubleshooting tree for the fueling and timing actuators if the fault pattern points to a shared delivery problem.
Verify the leak path. Use the HPI test plan to confirm leakage and examine the mating surfaces for scoring, pitting, or wear. Check the injector body, threads, seal grooves, and screen for damage or debris. SAE research has linked deposits in diesel injectors and nozzle holes to reduced power and starting difficulty.
Rebuild with Matched Components
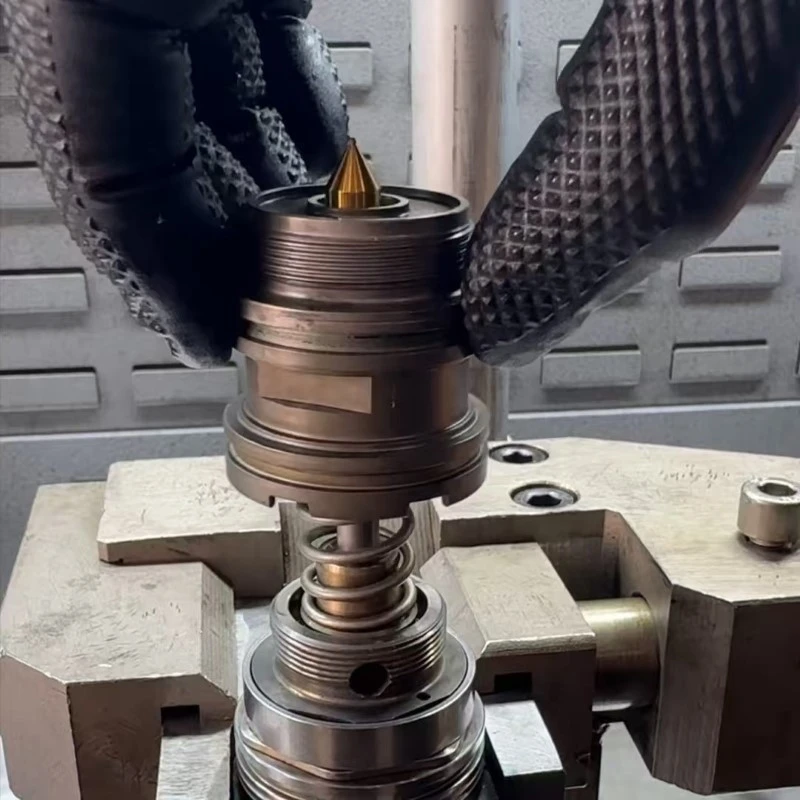
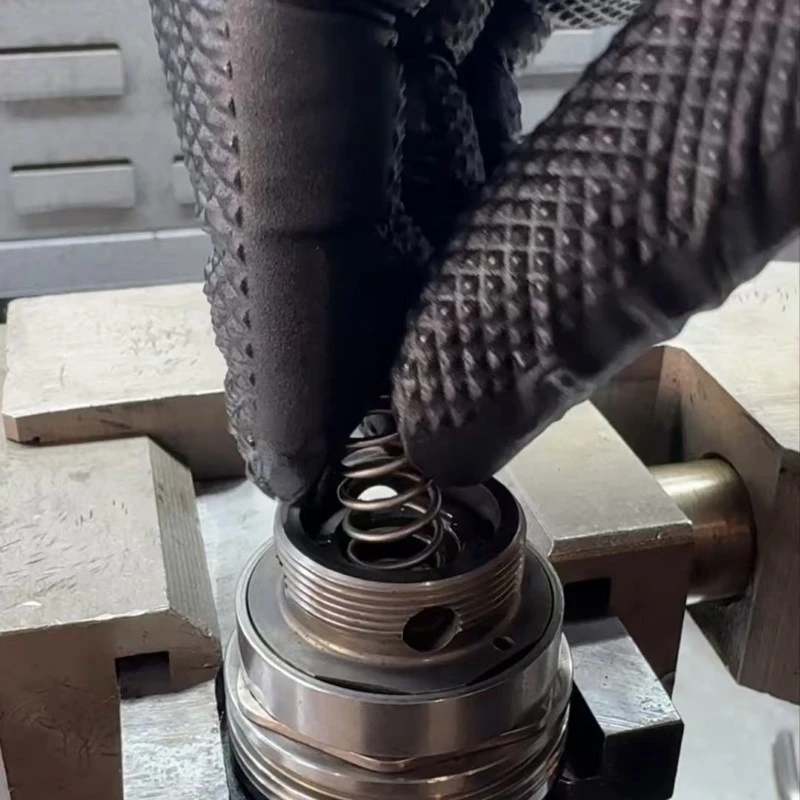
Choose the repair based on the leak path. For a confirmed seal leak, inspect the groove and fit the seal specified for that position. For confirmed leakage at the plunger seat, evaluate the matched nozzle and plunger against the rebuild limits. If the surfaces are out of tolerance, replace the matched assembly where the procedure permits. A cracked body or a core beyond the approved repair limits calls for a verified new or remanufactured fuel injector.
Use the seal and filter-screen kit specified for the verified injector. Follow the rebuild data for assembly order, clearances, and torque. If debris is present, clean the affected parts using the approved process and reinspect the fuel passages before assembly.
Bench Test and Return to Service
Use a calibrated HPI-compatible test bench with the fixture, test fluid, and temperature specified by the test plan. Measure leakage and metered fuel delivery at the prescribed test points. Cummins' HPI RX engineering comparison reports separate assembled, upper, and lower flow checks and shows how the upper-flow check can reveal faults. Log the measured values and acceptance limits for each injector. When a unit misses a leakage or delivery limit, correct the cause and repeat the full required test sequence before release. When outsourcing the rebuild or buying a remanufactured unit, ask for a test record tied to the injector identification.
Install the injector using the Cummins service procedure for the ESN, including the specified seals, hold-down torque, and overhead adjustment where applicable. Prime the fuel system, check for leaks using the prescribed method, and reproduce the original operating conditions after warm-up. Record the results of the repeat cylinder test or road test in the work order.
If teardown reveals water or debris, trace the contamination back through the filters, tank, and fuel transfer equipment before returning the vehicle to service. Follow the prescribed fuel filter and water separator maintenance intervals to protect the replacement or rebuilt injector.
References
1. Interstate-McBee. New Replacement Parts for Cummins ISX-QSX-X15 Engine Applications (2025), CPL matrix and fuel injector listings.
2. Cummins. Truck Maintenance and Operation, ISX15 (EPA 2007) Quick Reference Guide.
3. Cummins IS – Interact System & HPI-TP Fuel System. Technical overview of the ISX CM870 fuel system.
4. Cummins. X15 Performance Series (2024), fuel system features.
5. Cummins. X15 Euro 5 Brochure, publication 6318841.
6. Cummins. Technical Information and QuickServe Online access by engine serial number.
7. Cummins. Diesel Fuel Storage and Transfer, contamination prevention and filter maintenance.
8. Cummins. INSITE 8.0.0 What's New and Training Package, ECM diagnostic tests.
9. Cummins. Genuine Cummins ReCon HPI RX Injectors, publication 5410992.
10. Caprotti, R., Bhatti, N., and Balfour, G. Deposit Control in Modern Diesel Fuel Injection Systems. SAE International Journal of Fuels and Lubricants (2010). DOI 10.4271/2010-01-2250.
You Might Also Like
-

Cummins Q60 Actuator Service Master Set — Full Overhaul S...
-

Common Rail 400903-00043D/28347042 Diesel Fuel Injector f...
-

Fuel PUMP For Caterpillar 3116 Engine High Performance Di...
-

304-0678 Actuator Pump Small Flange 31 Teeth With Fuel Tr...
-

Precision Pressure: Redefining The Heart Of Cat® C4.4 Eng...
-

T406274 Common Rail Pipe – Perkins 1206E-E70TTA / CAT 320E